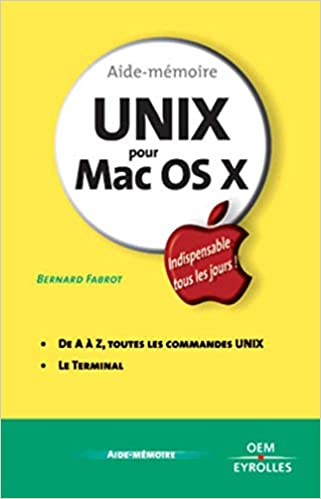
Have you ever encountered a file permission denied error while trying to perform some actions on your computer? Or maybe you want to change the ownership of some files or directories but you don’t know where to start? If yes, then you’re in the right place. In this post, we will explore the basics of managing permissions and ownership in Terminal.
Firstly, let’s understand what are file permissions and ownership. In UNIX-based operating systems, every file and directory is associated with three types of user groups: the owner, the owner’s group, and all others. Each group has a set of permissions that define what sort of access they have to that file or directory. The permissions can be read, write, execute, and they apply to three distinct groups: the owner, the group, and all others. For example, if a file has read and write permissions, it means that only its owner can read and change its contents.
Now, let’s look at how we can change the permissions and ownership of a file or directory using Terminal commands. To change the permissions, we use the chmod command followed by the permission code and the file name or directory. The permission codes consist of three numbers that represent the read, write, and execute permissions, respectively. So, for example, the code 644 represents read and write permission for the owner, and read-only permission for the group and others.
To change the ownership of a file or directory, we use the chown command followed by the new owner’s username and the file name or directory. For instance, to change the owner of a file named “file.txt” to the user “jane,” we would use the command:
$ sudo chown jane file.txt
It’s worth noting that changing the ownership of a file may cause some issues if you don’t have the right privileges or knowledge, especially if the files belong to some system directories.
Another command that can be used in managing permissions is the chgrp command that changes the group ownership of files/directories to a specified group. When used with the sudo command and the -R option, it can recursively change the group ownership of all files and directories inside a given directory.
Lastly, it’s essential to apply the appropriate permissions depending on the type and purpose of the file. For example, if it’s a sensitive file or contains sensitive information like a password, you would want to limit the read and write permissions only to the owner and set the file mode to 600. In contrast, if it’s a script file, you may want to set the file mode to 755 to allow execution for everyone.
Conclusion:
In conclusion, having a basic understanding of file permissions and ownership is essential for any UNIX-based operating system user, especially when accessing the Terminal. By using chmod, chown, and chgrp commands, you can change file ownership/group and modify file permissions effectively. However, changes in ownership need to be done with caution, especially if you’re not familiar with Terminal commands. Applying the appropriate permissions in all cases is essential for security and data protection, so make sure you check the file mode of the file you’re working on before making any modifications.

